
As of late, Med/Surg II has eaten pretty much ALL of my time, and I've spent more time studying than ever before.
However, on the week we had off I had a chance to work on the vanity project with my dad and get it almost completely finished. I was also able to make a necklace holder (thank you pinterest for the inspiration). I was also able to get the highchair finished.
Here's the pics with the explanations of what all we did!
I found some gems at a thrift store right before I started nursing school. We were walking through one of the Denver thrift stores when I happened to find this awesome vintage highchair just chilling among the furniture. I swooped it up, with my brother and sister-in-law expecting, thinking it would prove to be an awesome piece! However, it was a color that leaves a ton to be desired.
While it wasn't bad, yellow with golden accents isn't exactly my style.

Just a peek at what it looked like before...

The first break we had from nursing school, I stripped the paint off of the chair with paint stripper. My pieces of advice: wear long sleeves and pants and make sure you have an awesome stripping tool!

after pain stripping
After the paint stripping, it still needed to be sanded down to get the loose paint off and in the nooks and crannies. I also used toothpicks to get in the round details. I recommend blowing it off with an air compressor or the like once done with that. Then it was on to painting. I initially wanted to do a weathered look but my mom (aka grandma) wanted a crisp look. She also wanted to do white but I wanted to add some color, so I chose this color. It's Schooner Blue from the Olympia line. I got it at Lowe's :-)

I chose the dry brush stroke method, to give it a little imperfection. Which meant I had to apply two coats and meant it took longer than just slothering it all over. I also took a small acrylic brush from Michaels to do the white decorative rings. All in all it came out really nice and I love it!! However, I'll probably be the last person in our family to have children ;-)
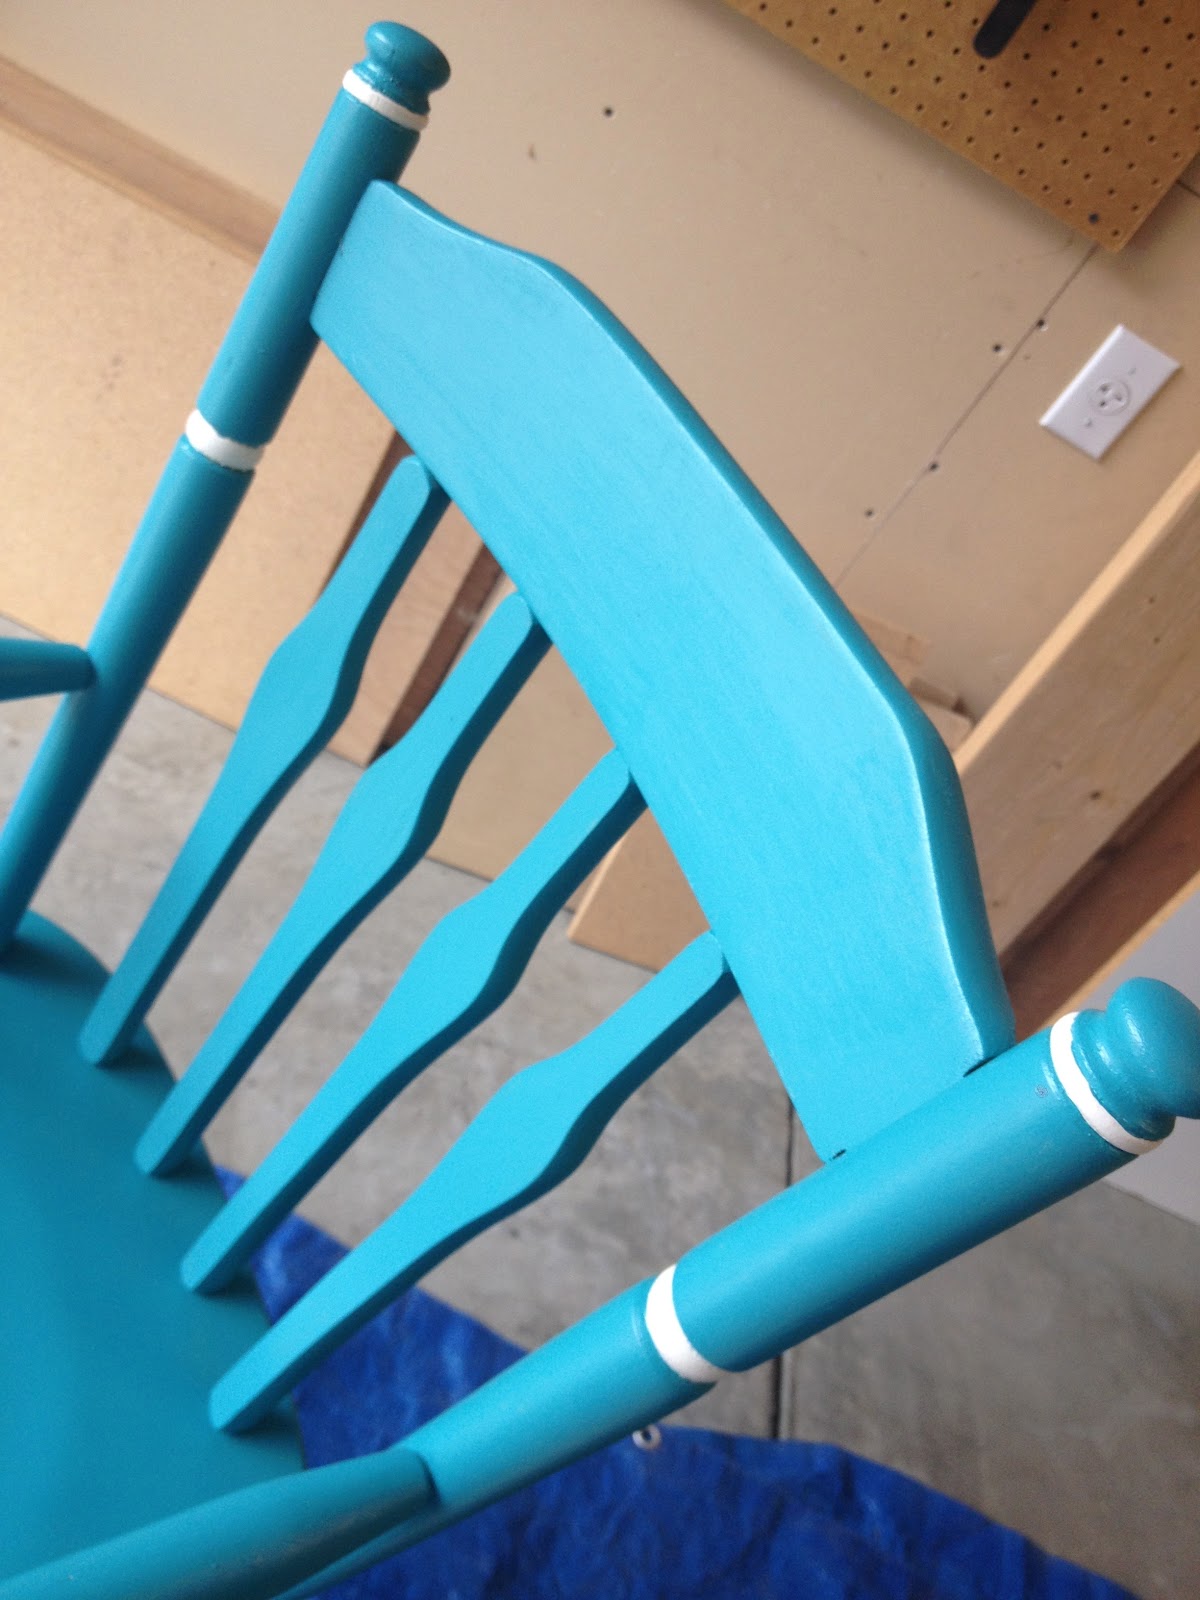
without any filters and with overhead lights in the garage on

The finished product
The next project was a quick necklace holder, inspired by projects found on pinterest. My father was replacing the front fence and gate so I salvaged some wood for my project, one of the old weathered beams. I got the teal knobs on sale and the clear/bubbly ones for full price at anthropologie. Simply, I pilot drilled the holes and counter-sank a small recess into the wood....or should I say my father helped me to do so :-) The we screwed the jigsaw picture-frame holders on each side of the back to hold it up on the wall. It's bigger than most that I've seen on pinterest...but I didn't want to alter the wood at all, simply sand it down a little to get the rough splinters off. I loved the weary-ness of it and didn't want to ruin that by sawing it off at the end.

We also finished up the vanity, which I never blogged about. This we made from scratch. My mom found a simple plan she liked, my father figured the dimensions, and we set off to work. This project overall took two weeks to finish (and still isn't completely finished as we haven't fully set it up stairs and put the counter on). We used a raw cherry wood, in which we rabbit holed the pieces together by a pilot drill with a counter-sink. We were going for a more farmhouse feel. Simple yet farmhouse. Once all together, I used Minwax Special Walnut wood stain (two coats applied thickly with a brush and then wiped with a clean cloth), followed by two coats of Minwax Polyurethane.
the hardware looks like this, though I couldn't find the exact cabinet pull on the website


As for the process, here is a quick montage of the project up until we need to put the sink on ;-)

a lot of wood glue and clamps were involved in this project


after the first coat of stain


after the second coat of stain, the two coats of polyurethane and the hardware application
Once we get the sink and faucet hardward installed I post the FINAL picture of the vanity. Also mad props to my faja (aka pops) as he was the one who mainly did everything. I provided moral support, physical support, and my common smartass comments during the entire project. And of course, the expert wood glue applier and excess wiper ;-)
Once I'm done with nursing school, I'm sure we have more projects lined up but until then, my only other projects include a canvas and paintbrush. I'll also post that project once it's done.
No comments:
Post a Comment